Homeowners all over Georgia trust the experts at Royal Deck for sound advice regarding the construction of decks and patios. So when our customers ask us for tips on how to build deck steps, we don’t just deliver, we go over and beyond providing step-by-step instructions for steps. You heard that right, our Royal Deck experts are here to give you free advice on anything and everything related to building deck stairs.
Read on to learn about our tested and true step-by-step process for how to construct deck stairs. From materials needed for durable outdoor deck steps to easy methods for calculating deck step dimensions; we have you and all your deck questions covered. We’ll even throw in some innovative design ideas for deck staircases, so you can get inspired and motivated to start building.
Royal Deck
Step #1
Pre-Planning– Understanding Your Deck’s Needs
We know you’re excited to get started, but the last thing you want to do when building deck steps is to make a misstep (see what we did there). The first thing you must do when learning how to build deck steps is to really understand the basics of your deck. Whether you’re dealing with an existing deck or starting from scratch, every great deck step begins with solid pre-planning.
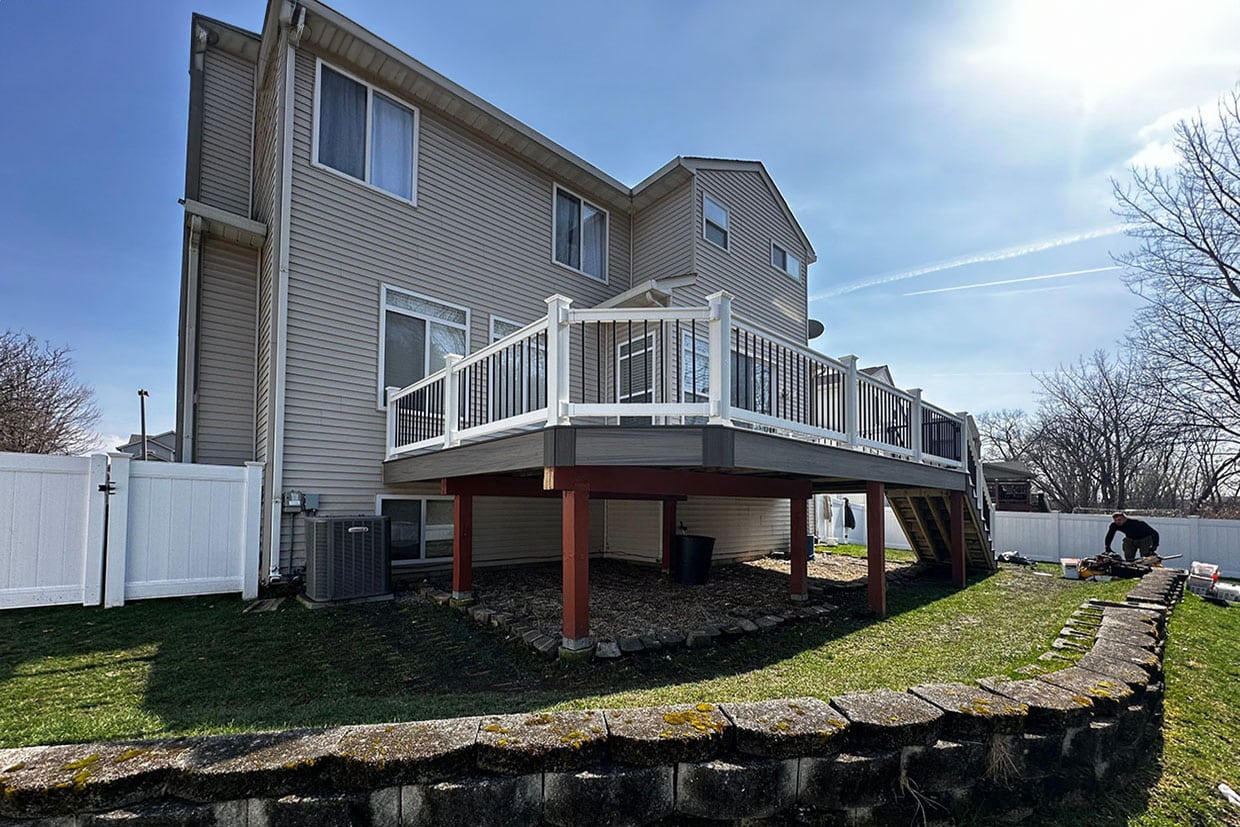
- Assessing Your Current Deck: If you’re working with what you’ve got, take a good look at your current deck. It’s not just about adding steps; it’s about ensuring they blend seamlessly with your existing structure. Check for any repairs that need to be made first – after all, you wouldn’t put a fresh coat of paint on a wall that needs plastering, right?
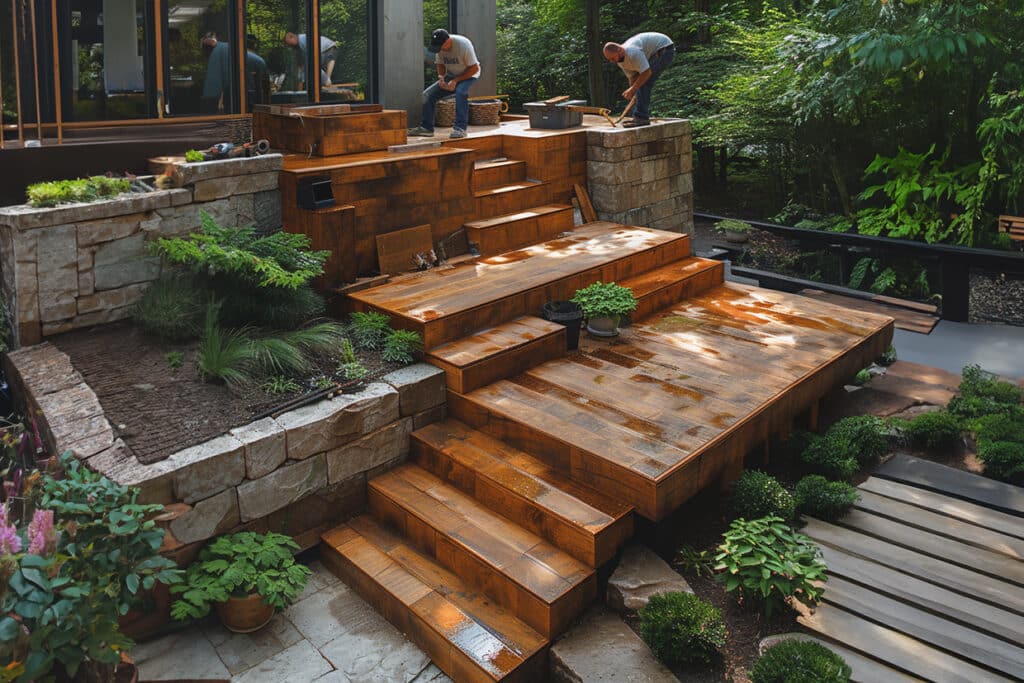
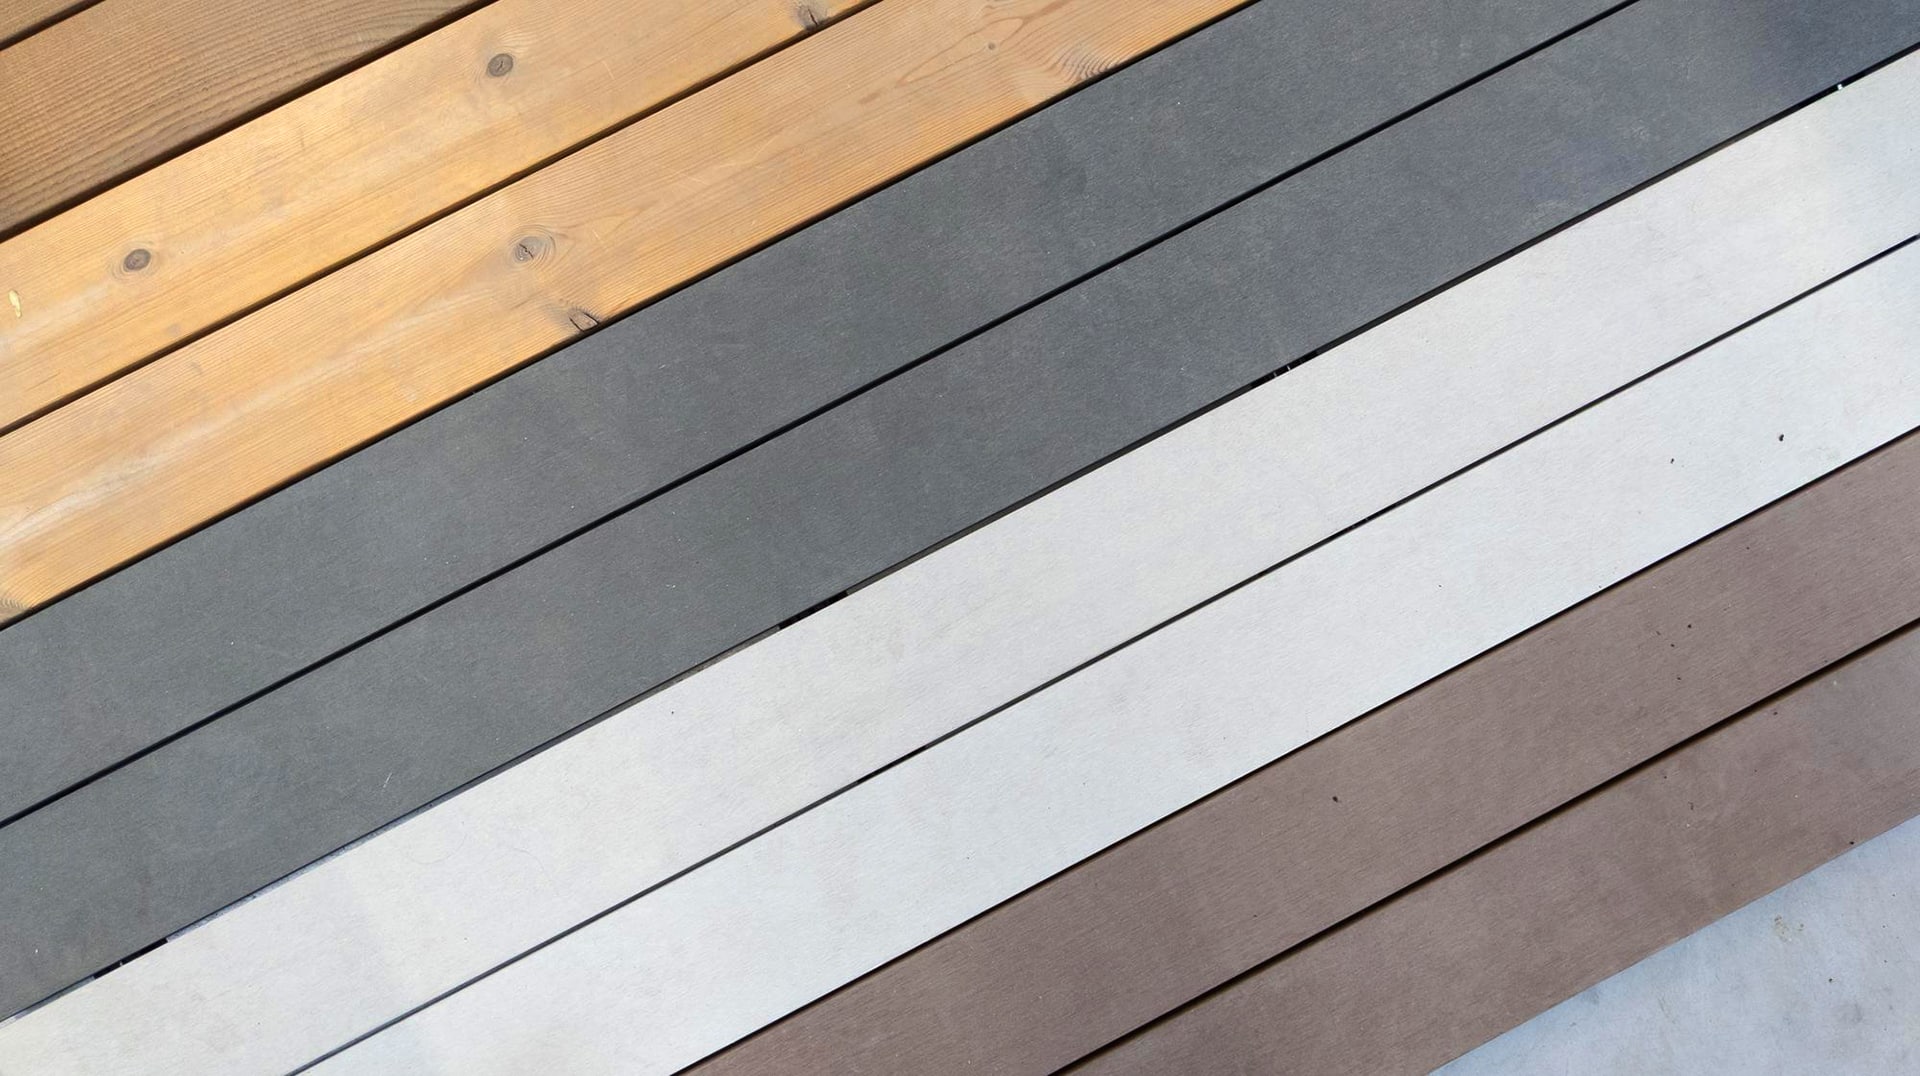
- Designing for a New Deck: Starting anew? Lucky you! This is your chance to get creative. Think about the overall look you’re aiming for. Do you envision a classic wooden staircase or something more modern with composite materials? Remember, the design of your steps can either complement or clash with your deck, so choose wisely!
- Aesthetic and Functional Integration: Now, let’s talk integration. Your steps should be more than just functional; they should enhance the beauty of your deck. Consider the width of the steps – wider steps can make a grand statement. Think about the railing style and materials too. And don’t forget lighting – it’s not just practical but can also create a wonderful ambiance.
So homeowners remember, building great deck steps starts with a vision and a plan. So take your time here – sketch, research, and dream a little. Stairway to heaven or just to your deck? Either way, following Royal Deck’s Step # 1 will help elevate your Atlanta outdoor living space the right way.
Step # 2
Tools and Materials– Know What You’ll Need to Build Deck Steps
Once you have a plan in place, it’s time to gear up! Building deck steps is like baking a layer cake – you need the right ingredients and tools to make it a success. So, let’s break down what you’ll need for this deck stair project.
- Measuring Tape: Accuracy is key, and it all starts with measuring.
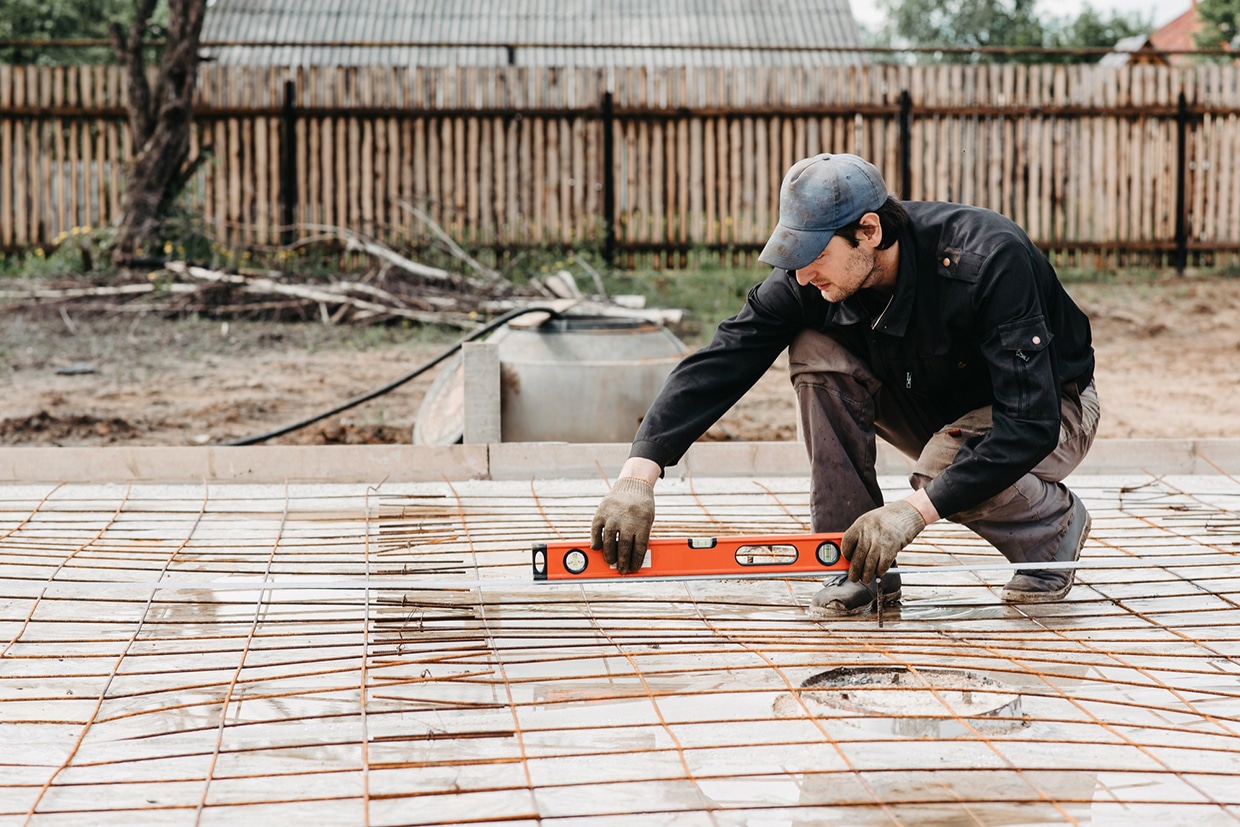
- Carpenter’s Level: For steps that are perfectly balanced, not a tilt in sight.
- Drill/Driver & Bits: Essential for making those precise holes and driving screws home.
- Impact Driver: Your ally in ensuring every screw is snug and secure.
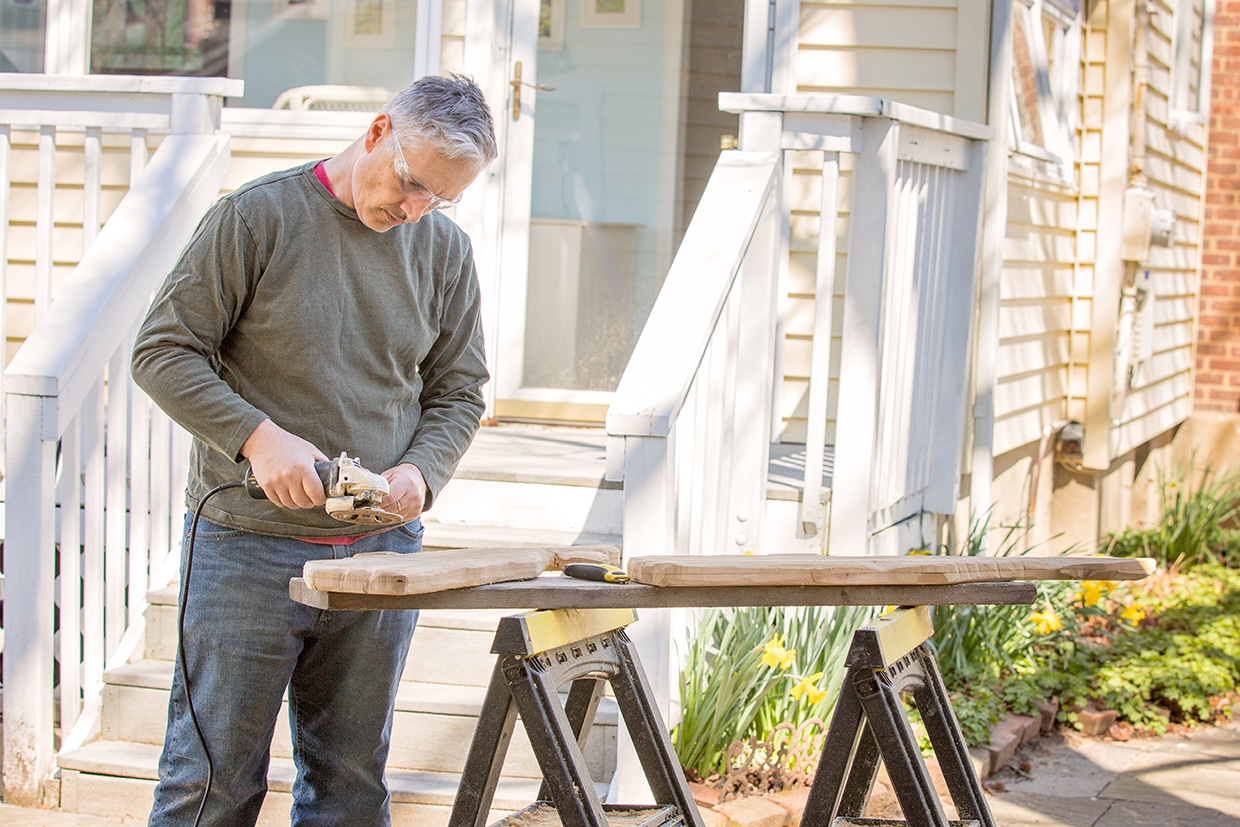
Circular Saw & Blades: For cutting those stringers and steps with precision. - Compound Miter Saw: Ideal for making angled cuts with ease and accuracy.
- Jigsaw: For any intricate cuts, especially if your steps have a unique design.
- Stringers and Decking Materials: Start with sturdy wood for the stringers – they’re the backbone of your steps, ensuring strength and stability. For the treads and risers, match the material with your deck for a cohesive look. If your deck is graced with modern materials, consider composite boards from brands like Deckorators, Timbertech, or Trex.
Armed with these tools and materials, you’re now ready to transform your deck and start building deck steps that are not just functional but also a testament to your craftsmanship. Let’s get building!
Step # 3
Measuring and Calculating– The Foundation of Great Deck Steps
Precision is paramount when building deck steps – it’s the difference between a flawless finish and a frustrating redo. Here’s how to nail it:
Accurate Measurements: Begin by measuring the total height from the ground to the top of the deck. This determines how many steps you’ll need.
Calculating Risers and Treads: The riser is the vertical part of the step, while the tread is the horizontal part. Use this simple formula: Divide the total height by the height of each riser to find out how many you need. For the treads, ensure they have enough depth for comfortable footing.
Riser-Tread Ratio: There’s a golden rule here – the sum of one riser and one tread should equal about 17 to 18 inches for optimal comfort and safety.
Double-Check Everything: And we really mean everything! Always measure twice before cutting. A small error in measurement can lead to big problems and a big expense. The easy solution is to double-check your measurements.
Accurate measurements and calculations aren’t just technical necessities; they’re the secrets to creating a staircase that’s safe, comfortable, and visually pleasing. If ever in doubt, our deck step experts at Royal Deck are always just a phone call away!
Step # 4
Time to Build Deck Steps- The Fun Part!
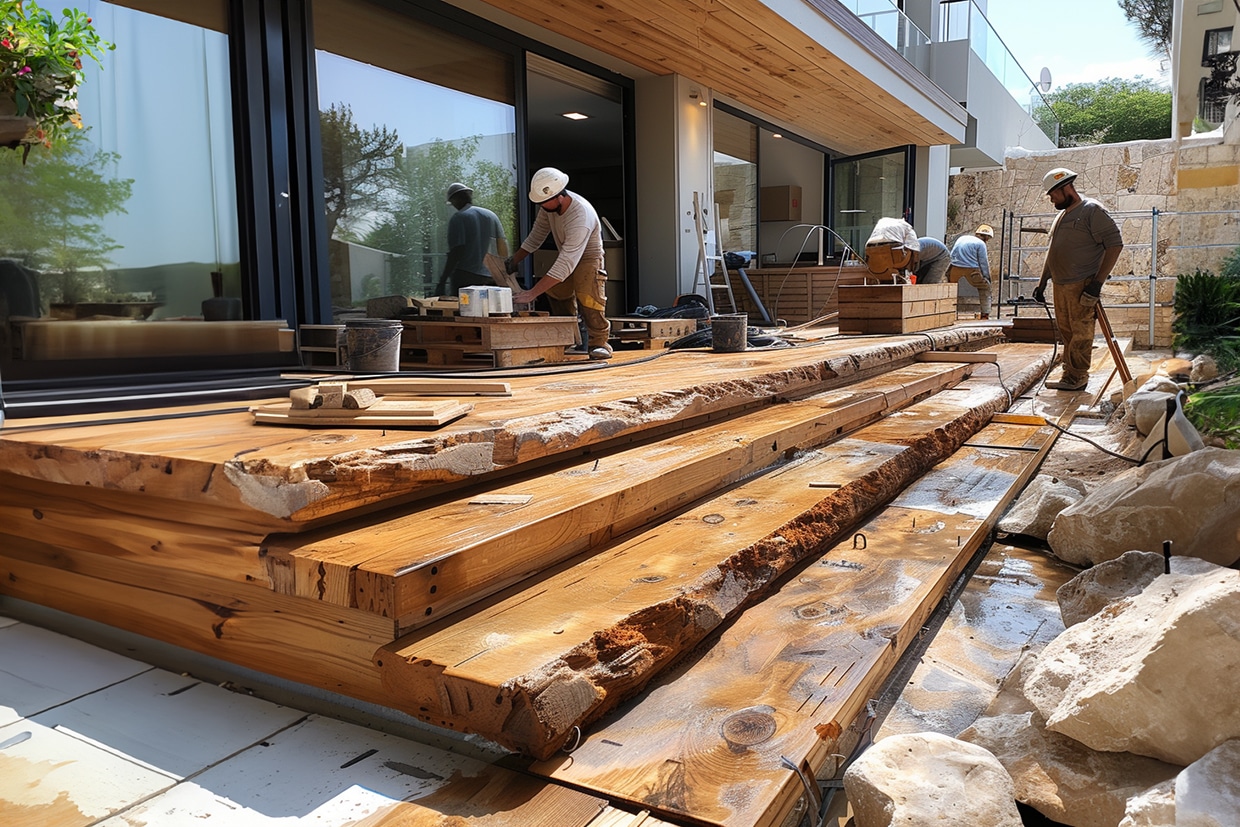
Finally, the piece de resistance, actually building deck stairs. Here’s a concise guide put together by the experts at Royal Deck, to get you started on building deck steps:
- Measure Total Rise: First, find out the height from your deck to the ground. This tells you how many steps you’ll need.
- Calculate Risers and Treads: Divide the total rise by 7 inches (standard riser height) to determine the number of risers. Each tread should ideally be about 10-1/4 inches wide.
- Lay Out Stringers: Mark the stringers for cutting using a framing square and stair gauges.
- Cut Stringers: Carefully cut along your marks with a circular saw and finish with a handsaw for accuracy.
- Test and Adjust Stringers: Place the stringers against the deck to check and adjust the rise and run.
- Install Stringers: Secure the stringers to your deck structure.
- Add Risers and Treads: Install risers first (vertical parts), followed by treads (horizontal parts).
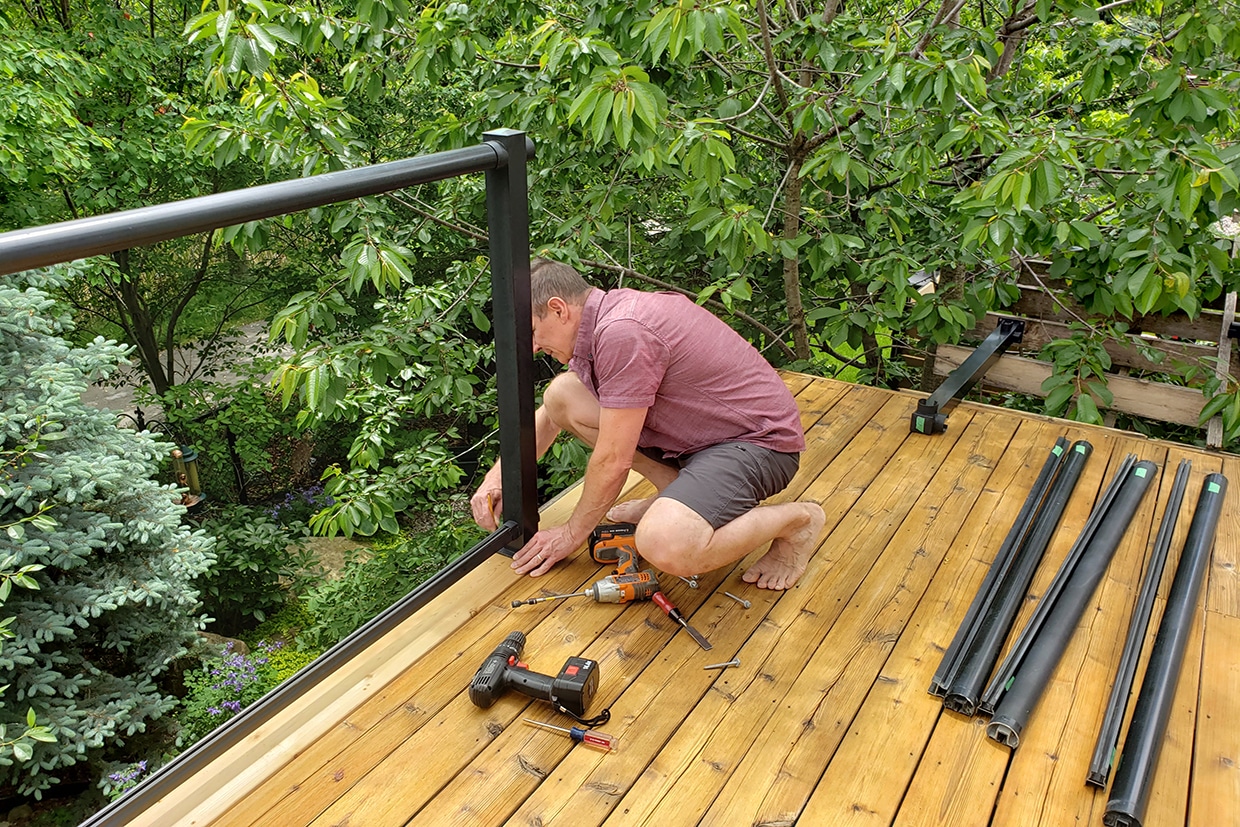
- Install Railings: If your deck design requires, add railings in line with local building codes for safety.
This tried and true approach provides a clear, step-by-step process, ensuring your deck steps are both safe and aesthetically pleasing. For more detailed instructions, you can contact the deck stair contractors at Royal Deck.
Step # 5
Design Tips– Making Your Deck Steps Stand Out
Let’s get creative when learning how to build deck steps, and make those stairs more than just functional – let’s make them a standout feature! Here’s how:
Material Mix-Up
Combine materials for a unique look. Think wood with metal accents, or traditional timber alongside modern composite. It’s all about texture and contrast.
Color Play
Paint or stain your steps to either complement or contrast with your deck. A pop of color can really make them shine.
Light it Up
Add some flair with lighting. LED strip lights under the treads or solar post caps create both ambiance and safety.
Artistic Railings
Swap out standard railings for something with a bit more personality – wrought iron, intricate woodwork, or even glass panels.
Decorative Details
Consider incorporating decorative elements like post caps, unique step edges, or patterned risers.
These tips from the Royal Deck stair experts will ensure building deck steps are not just a path to your deck but a highlight of your outdoor space. Remember, the best design reflects your personal style and complements your home’s architecture. Happy designing!
Common Mistakes to Avoid When Building Deck Stairs
In the world of deck step building, a few missteps can lead to a wobbly result. Here’s how to stay on solid ground:
- Overlooking Local Codes: Always check local building codes first. They’re there for safety and must be adhered to.
- Incorrect Measurements: This is a biggie. Double-check those measurements. An inch off can throw off your entire design.
- Skimping on Materials: Use quality materials. Cutting corners can lead to repairs down the line.
- Forgetting About Drainage: Ensure your design allows for proper water drainage to avoid wood rot or slippery surfaces.
- Ignoring Aesthetics: Remember, your steps should blend with your deck and house. Design matters as much as function.
- Overlooking Safety Features: Railings might seem optional, but they’re crucial for safety, especially on high decks.
Avoid these pitfalls, and you’re well on your way to building steps that are safe, sturdy, and stunning! If you live in the Greater Atlanta Area, give Royal Deck a call to get help building deck stairs that get you from your deck to the ground, in style!
Royal Deck: Taking Steps to Improve Your Home – One Stair at a Time
As we wrap up our guide on how to build deck steps, remember that building deck steps is more than just a home improvement project; it’s a step towards creating your dream outdoor space. At Royal Deck, we’re committed to helping you make that leap. Our team of experts is always ready to guide, support, and inspire your decking projects. So, whether you’re revamping an old deck or starting a new, we’re here to help every step of the way.
Ready to take the next step in your home improvement journey? Reach out to Royal Deck for unparalleled expertise and service. Let us help you elevate your Atlanta outdoor living experience, one stair at a time. Connect with us today and step into a better tomorrow with Royal Deck. Building amazing deck steps is just a call or click away!
